The Basics in Building and Installing Channel Letters
Customers love the creative options they can explore when using channel letters for their signage. And installers love their relative ease of installation – especially when using top-quality installation adhesives, tapes, and related products from Chemical Concepts.
The key to building an attractive and sturdy channel letter is having the proper tools and a reliable structural adhesive. Through our own experimentation and with the input of our customers, we have found that the best adhesives for a long-lasting bond are the Lord Acrylic Adhesives used in conjunction with our own HM612 high strength hot melt sticks and the CCH220 hot melt gun.
Building Channel Letters – the Basic Steps
Generally, there are three steps in building channel letters:
SHAPE – Cut and bend the sheet metal into the desired shape.
TACK – Use the HM612 hot melt sticks as a clamping or tackdown device while forming the letter.
ASSEMBLE – Use Signlok 406 “UL” approved adhesive/sealant around the seams in lieu of welding.
Taking this approach affords you several advantages and benefits:
- Less skilled labor.
- Less energy costs.
- The option of using thinner gauge metal (which gives you opportunity to save on metal costs).
- No rust.
- No grinding.
- No welding.
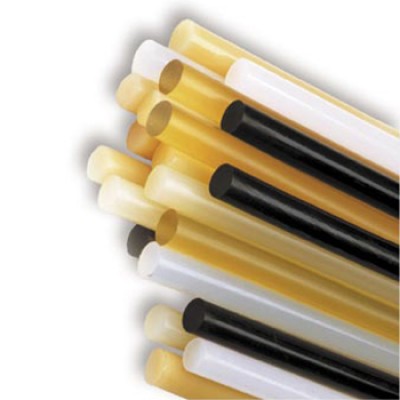
More on Our HM 612 Hot Melt Sticks
Stock up on our HM 612 hot melt sticks. Here’s a look at why you’ll always be glad to have them on hand:
- creates a great bond to metal.
- holds parts in place as the LORD structural adhesive cures.
- achieves a full cure in five minutes.
- will not get brittle.
- just one stick will cover four linear feet.
Our Recommended Process for Installing Channel Letters
We absolutely recommend using adhesives for the installation of channel letters and other types of sign on to a wall. First, bond surface-mount fasteners to the backs of the letters or sign. These replace the need for drilling or stud-welding. Next, attach threaded rods of your desired length to the studs. A thread-locking material can be used if you need additional strength. Drill holes into the wall and fill with an epoxy or anchoring adhesive. (Note: though 100 percent silicone adhesives are sometimes recommended for this step, we believe it’s better to select a true structural adhesive). Finally, place the sign on the wall and push the threaded rods into the adhesive in the drilled holes.
The backs of the channel letters can either be installed flush to the wall surface or set out using standoffs for consistent spacing from the wall. We recommend that you temporarily secure the sign with tape or other mean while the adhesive fully cures.
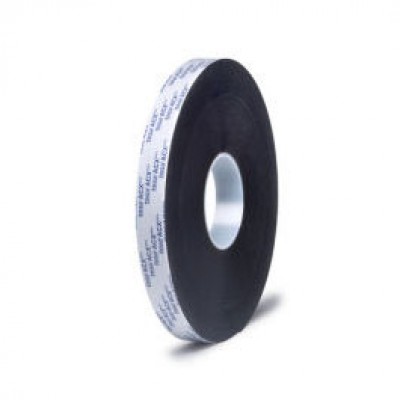 If you’re working with an indoor installation with a lighter load, a double-sided acrylic foam tape should work just fine. It’s an easy process and a quality foam tape will form an excellent bond and create a clean appearance. It’s also good for joining dissimilar materials, as the malleable foam on the tape allows for differences in thermal expansion in the joint. Check out ACXplus Black 7065 from tesa as one option if double-sided foam tape will work well for your installation.
This is a simple process for installing channel letters – but you’ll be pleased with the results!
We stock many products that will make building channel letters and installing them a breeze. Call our sales team to get the details – 800-220-1966 or email us at [email protected].