
Undermount Sink Adhesive vs Clips: Choosing a Mounting Method
Undermount sink adhesive products are everywhere now, and they all claim you can hang a sink in seconds without any mechanical anchor. Some of them work. The question is not whether adhesive can hold a sink, it is which method fits the job in front of you.
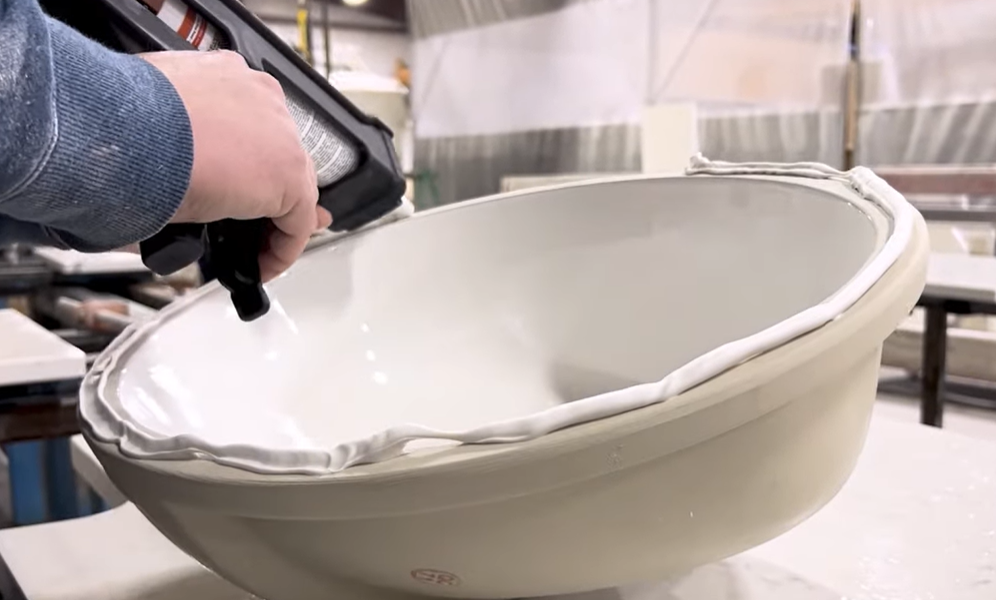
Mounting a sink without hardware saves real time, and turning jobs around faster is one of the most direct ways to increase revenue in a fabrication shop. It works. Plenty of the largest shops in the country mount sinks with adhesive and have for years.
What we want to lay out here is what actually changes when you go that route, so you can decide which method belongs on which job.
We sell all of it. We supply BoaBond Advanced Hybrid Adhesive for adhesive mounting, Keep-Nut anchors for drilled mounting, and glue-on sink clip kits for anchors without drilling. We have no reason to push you toward one over another. What follows is what we tell fabricators who ask.
About MS Polymer Adhesives
MS polymer is a sealant and adhesive chemistry made of polymers terminating in a silyl group, typically free of solvents and isocyanates. It cures with moisture in the air. It has been used in construction and automotive assembly for more than twenty years, and it is well understood.
What changed more recently is the application. These adhesives are now formulated and marketed specifically for undermount sink mounting, with green strength high enough to hold a sink in position while the bond develops.
The chemistry is proven. The considerations below are about process and job conditions, not about whether the material works.
Four Ways to Mount an Undermount Sink
| Method | Load carried by | Drilling | Positioning | Before plumber | Removal |
|---|---|---|---|---|---|
| Drilled anchors | Anchors | Yes | Until tightened | Immediate | Back out hardware |
| Glue-on anchors | Anchors | No | Until tightened | After anchors cure | Back out hardware |
| Adhesive only | Adhesive | No | About 10 minutes | 24 hours | Cut the bead |
| Combination | Both | Depends on anchor | About 10 minutes | 24 hours | Both steps |
Drilled mechanical anchors
Anchors carry the load and silicone makes the water seal. This is the traditional method. It gives you a known, rated holding strength and the ability to position the sink freely before you tighten anything down.
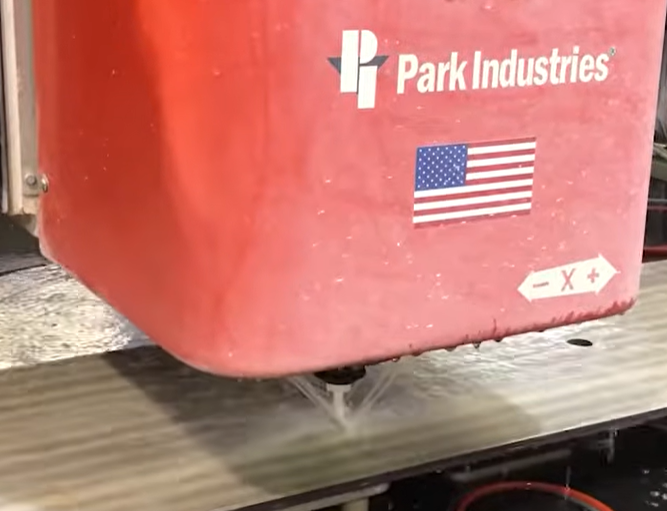
The tradeoff is the drilling. Anchor holes go into the slab either as a CNC step or by hand after the piece comes off the saw and router, and that is machine time, labor, and hardware cost on every sink you build.
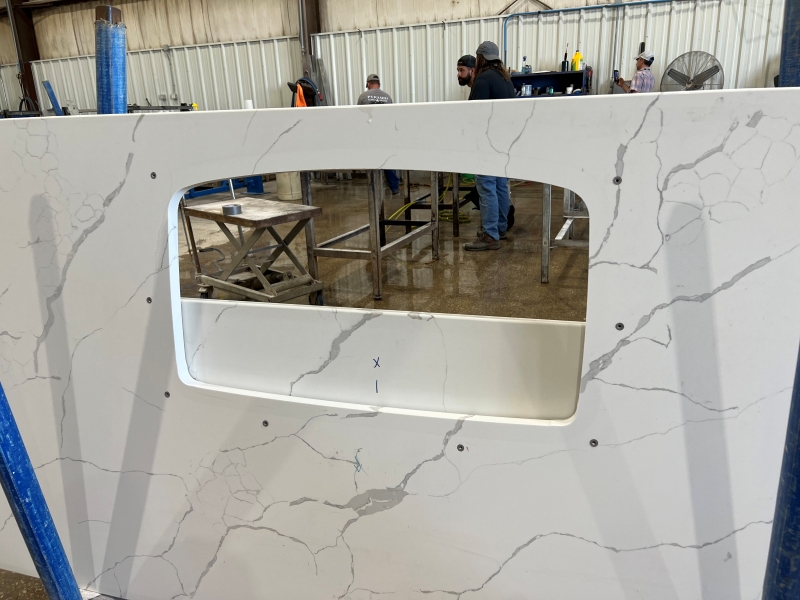
Glue-on anchors
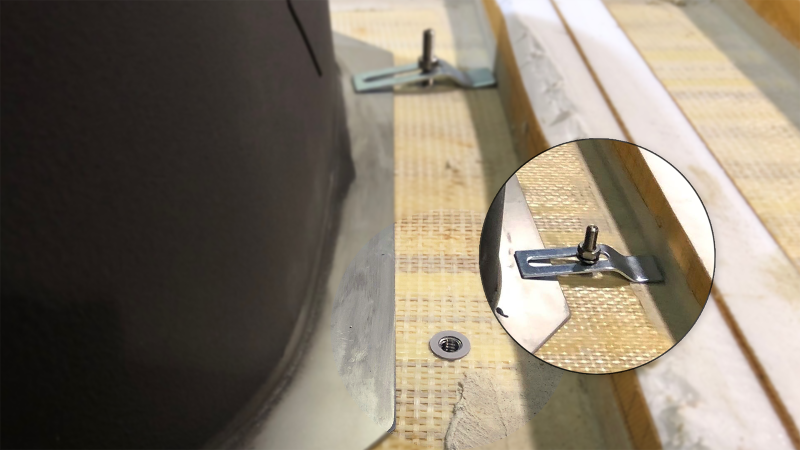
Bonded studs give you the same clip and wingnut arrangement without putting a single hole in the slab. A stud base is glued to the underside of the deck around the cutout, a Z-shaped clip goes onto the stud, and the sink is drawn up with a washer and wingnut exactly as it would be with a drilled insert.
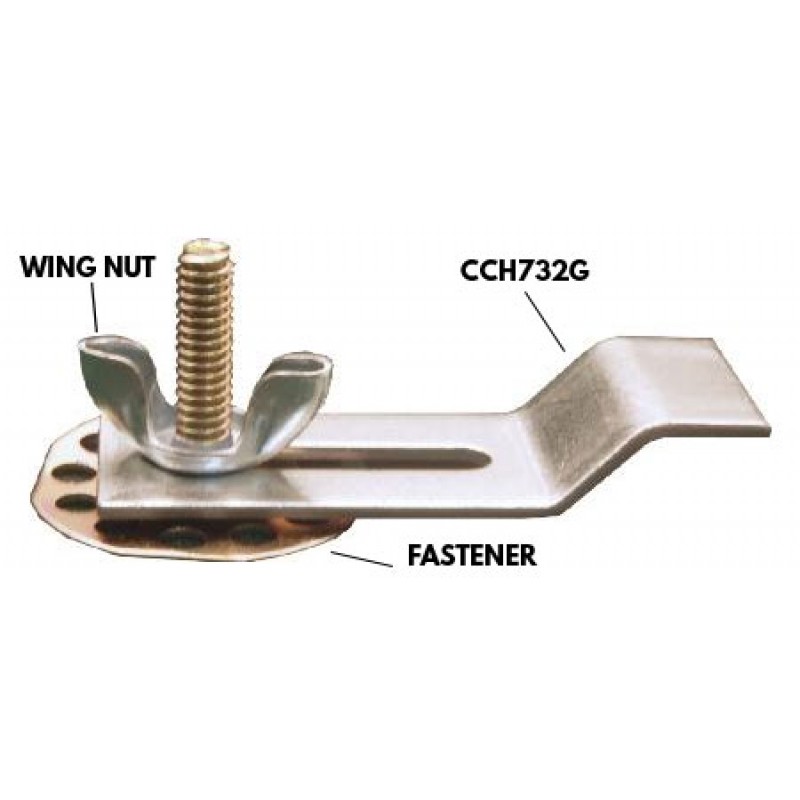
This matters because it separates two things that usually get bundled together. If the reason you are looking at adhesive mounting is that you want the drilling step out of your process, glue-on anchors get you that without giving up a mechanical fastener or the ability to position the sink freely before tightening.
The tradeoff is that the stud base has to reach handling strength before you hang any weight on it, so it is not as immediate as a drilled insert.
Adhesive only
The adhesive carries the load and seals the joint at the same time. This eliminates the drilling step entirely, which takes that machine time, labor, and hardware cost back out. It asks for more discipline on surface prep and on protecting the sink during cure.
Both
Anchors where they fit, adhesive where they do not. This is common on large sinks where cabinetry does not allow hardware in every location, and it is also the conservative choice when a job carries unusual risk. Designers and homeowners keep specifying larger sinks without accounting for what the cabinet can take, so this comes up more than it used to.
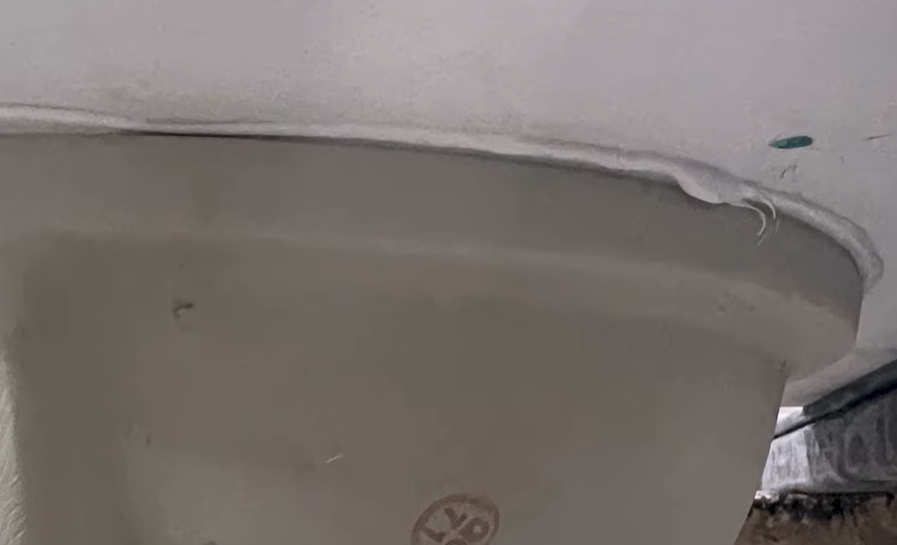
What to Consider Before Using an Undermount Sink Adhesive
Green strength and full cure are two different things
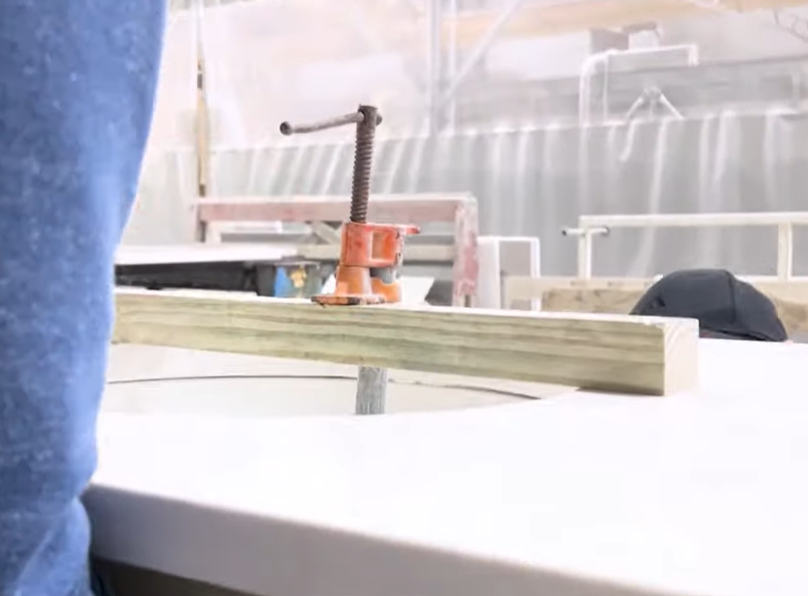
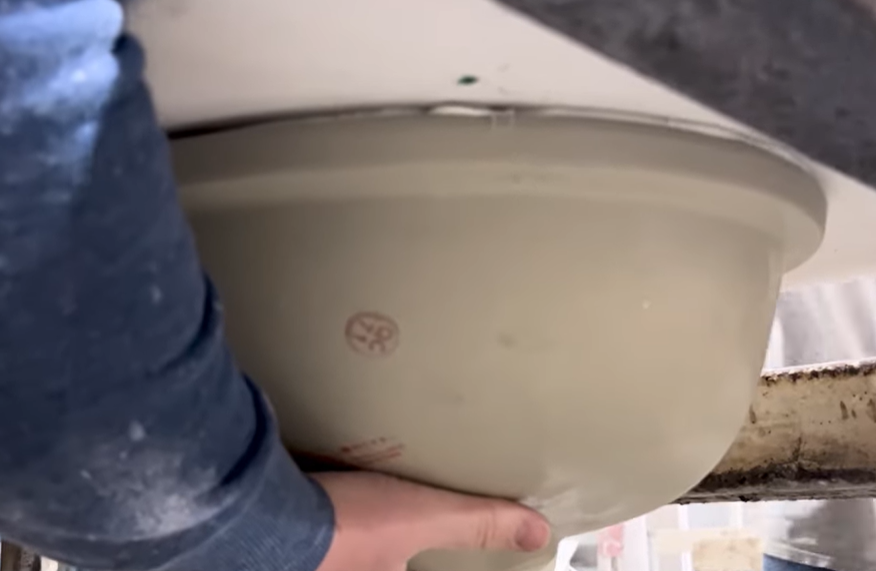
This is where most of the confusion sits, and it is worth being precise. Green strength is what holds the sink. Within 5 to 10 minutes of setting the bowl, the adhesive has grabbed hard enough to carry the weight on its own. Compress it, hold or clamp it for a couple of minutes, pull the clamp, and the sink is up. That is the entire reason shops moved to this method.
Full cure is separate. The bead keeps building strength for several days, and the finished bond is considerably stronger than what is holding at minute ten. During that window the joint should not be stressed. That means nobody cranking on a disposal or a tailpiece and nobody standing in the bowl. Stress it early and the bond may never reach the strength it was supposed to.
The sink is held. It is just not finished.
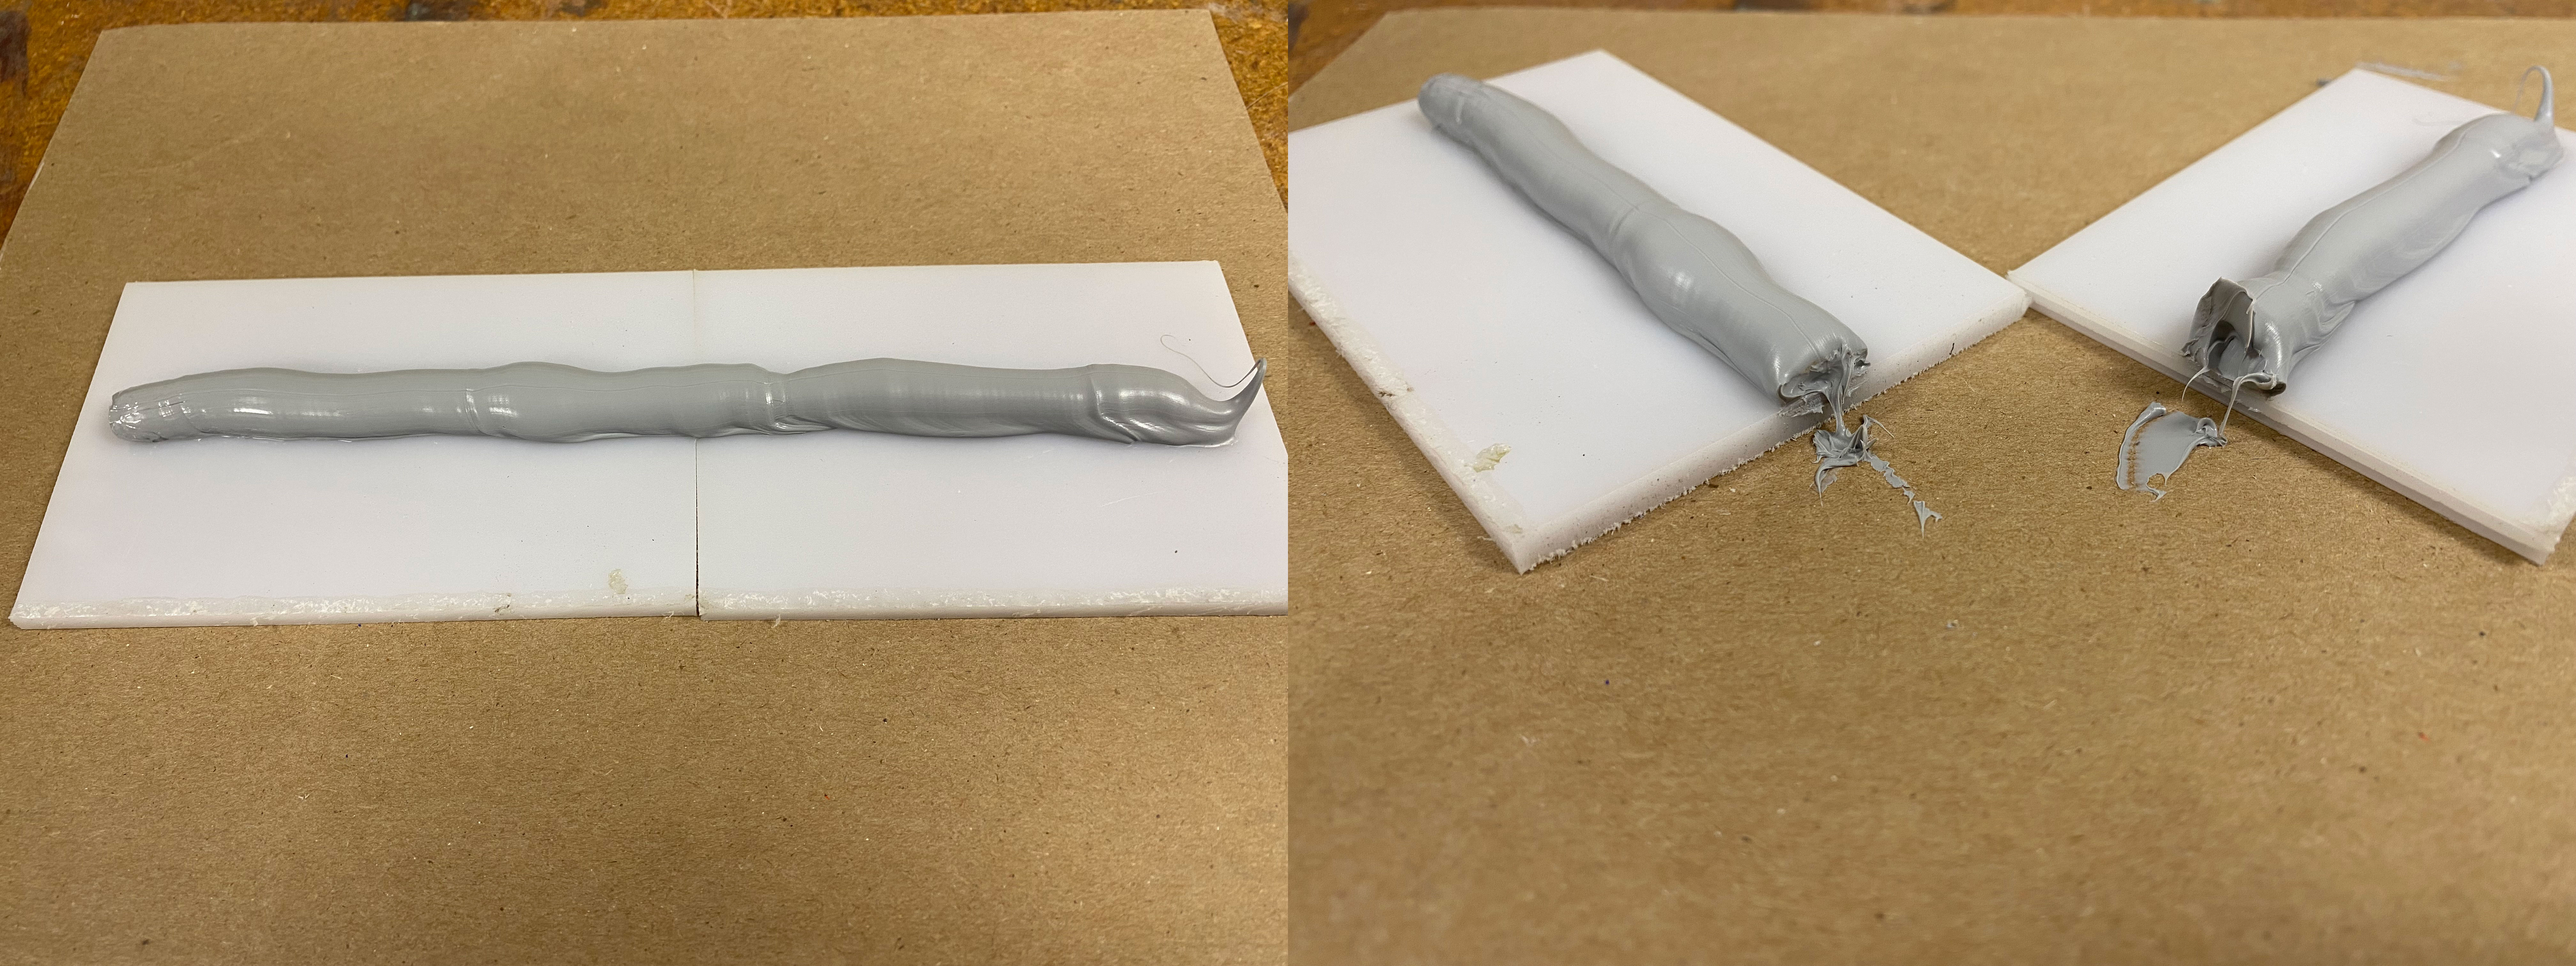
A useful test: dispense a large bead, wait an hour, then cut a cross section and look at it. That will tell you exactly where the product is in its cure.
Other trades on the job
You are not protecting a sink that might fall. You are protecting a bond that is still building. A plumber putting a wrench on a disposal or a tailpiece puts real torque into that joint, and doing it at hour three instead of hour thirty is the difference between a bond at full strength and one that never gets there.
Tell the plumber to give it 24 hours. That is the same guidance every product in this category carries, and it is the one instruction worth putting on the job sheet.
If you have no control over who is in the house and when, that is a fair argument for mechanical anchors on that particular job.
Positioning time
Because the outer layer skins quickly, you do not have long to position the sink. Most adhesives in this category allow repositioning for roughly 10 minutes after application. Once that outer layer sets, movement damages the bond.
With anchors and silicone you can adjust the sink until it sits exactly where you want it, then tighten down. If your process involves a lot of fine adjustment, or a newer installer is doing the work, that flexibility has value.
What seals the joint
In an adhesive mount, one continuous bead does both jobs. You are not running adhesive and then silicone on top of it.
MS polymer cures to a watertight rubber. A continuous bead, compressed properly at install, bonds the sink and seals the joint at the same time. That is one of the reasons the method saves time.
Silicone comes in when the anchors are carrying the sink. In that case the hardware handles the load and something still has to seal the joint, and that is the silicone’s job.
One thing worth knowing with either approach: silicones formulated for kitchen and bath carry fungicide, typically effective for around three years before the joint needs to be cut out and resealed. Industrial adhesives are generally not formulated with fungicide. On most undermount installs the bead sits under the deck where it is not exposed to standing water or cleaning, so it does not usually come up. If your reveal leaves the joint face exposed, some fabricators still run a silicone bead at the edge for that reason.
Removal and replacement
Sinks get replaced, whether they fail or the homeowner wants a different look. With mechanical fasteners you cut the silicone and back out the hardware.
Cured MS polymer does not go brittle, it stays rubbery. Removal is done with an oscillating multi-tool and a thin fine blade, cutting through the bead. It is straightforward but it takes longer than backing out fasteners, and both surfaces need to be cleaned back to bare material before a new sink goes in.
Liability and safety
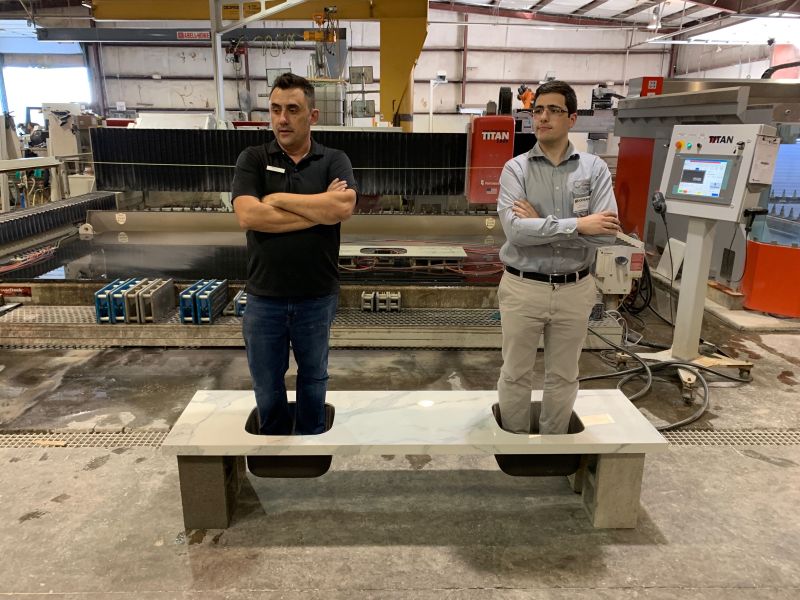
Any sink mounting method needs a safety factor above everyday use, because sinks do not only see everyday use. Fabricators have all seen the other side of it. Electricians standing in sinks. Stacks of dishes and heavy items piled on a top. Misuse is not your responsibility, but designing for it saves everyone grief.
Adhesive mounting works when the bond area is sized for the sink, the surfaces are properly prepped, and the sink is protected during cure. Where a sink is unusually heavy, where the bond area is limited, or where the site cannot be controlled during cure, mechanical anchors give you a rated holding value and a larger margin.
Callbacks
Installations take time. Callbacks take more. Whichever method you choose, the way to avoid going back is consistency: the same prep, the same bead size, the same cure protection, every time.
Most adhesive sink failures trace back to surface prep rather than to the adhesive. Stone dust, slurry, polishing residue and cutting oil will all keep a bead from wetting the substrate. Clean both surfaces properly and check your first several installs before you roll the method out across a crew.
What We Supply for Each Approach
Adhesive mounting
BoaBond Advanced Hybrid Adhesive is a one-part MS polymer hybrid with immediate green strength, 100% solids so the bead does not shrink, and the ability to bond to damp substrates. Supplied in a 10.2 oz cartridge, with a published VOC content of 9.55 g/L by ASTM D2369.
Drilled anchors
Keep-Nut is a press-in, self-anchoring insert rated at roughly 500 lbs per fastener, which covers heavy composite sinks with margin. It can be automated on CNC equipment and installed in seconds, considerably faster than T-bolts or the butterfly method.
Glue-on anchors
The ChemSet 755K Sink Anchor Kit includes 100 sets of hardware: stud bases, Z-shaped sink clips, lock washers and wingnuts. The 1-1/2 inch stud base bonds with epoxy or an adhesive you already run, and is sized to fit tight areas.
Sealing
When the anchors carry the sink, the joint still needs sealing. Our silicone and caulk range covers kitchen and bath grades with fungicide, plus neutral cure options for natural stone.
Undermount Sink Mounting FAQ
How fast does undermount sink adhesive hold?
Within 5 to 10 minutes. MS polymer adhesives formulated for sink mounting develop green strength fast enough to carry the bowl on their own after a brief compression, which is why shops can set a sink and keep moving instead of waiting on it. Full strength continues developing for several days after that.
Can you install an undermount sink with adhesive only?
Yes. MS polymer adhesives formulated for sink mounting develop enough green strength to hold a sink in position while the bond cures, with no mechanical anchors. The bond area needs to be sized for the weight of the bowl, both surfaces need to be clean, and the sink needs to be compressed and left undisturbed during cure.
What holds better, adhesive or clips?
Mechanical anchors give you a published holding value per fastener, which adhesive does not. Adhesive holding strength depends on bond area, surface prep, and how the joint is loaded, so there is no single figure to compare against. In practice both methods hold sinks reliably when they are installed correctly. Anchors give you a larger margin on unusually heavy sinks or where the bond area is limited.
Can you mount an undermount sink without drilling?
Yes, and there are two ways to do it. Adhesive mounting eliminates the hardware entirely. Glue-on anchors keep the clip and wingnut but bond a stud base to the underside of the deck instead of drilling into the slab. Both remove the drilling step from your process.
How long before you can use a sink mounted with adhesive?
Allow 24 hours before the plumber works on it. The sink itself is held within 5 to 10 minutes by the adhesive’s green strength, so it is supported and you can move on with the job. The 24 hours is about letting the bond reach full strength before anyone puts torque on the drain or loads the bowl.
Do you still need silicone if you use adhesive?
No. MS polymer cures to a watertight rubber, so a continuous compressed bead bonds the sink and seals the joint at the same time. Silicone is needed when mechanical anchors are carrying the sink, because the hardware does not seal anything. Some fabricators still run a silicone bead at the reveal if the joint face is exposed, because kitchen and bath silicones carry fungicide.
Do you have to clamp an undermount sink when using adhesive?
Yes, briefly. Compress the sink against the deck and hold or clamp it for a couple of minutes while the adhesive grabs. Once green strength takes hold the clamp comes off and the sink is supported on its own. Skipping the compression step is the most common cause of a weak bond.
Can you remove an undermount sink that was glued on?
Yes. Cured MS polymer stays rubbery rather than going brittle, so removal is done with an oscillating multi-tool and a thin fine blade, cutting through the bead. It takes longer than backing out mechanical hardware, and both surfaces need to be cleaned back to bare material before a new sink goes in.
Why do adhesive sink mounts fail?
Most adhesive sink failures trace back to surface preparation rather than to the adhesive itself. Stone dust, slurry, polishing residue and cutting oil all prevent the bead from wetting the substrate. The other common cause is the sink being disturbed before the bond has developed, usually by another trade on the job.
How long do you have to position the sink after applying adhesive?
About 10 minutes. MS polymer skins over in roughly 5 to 10 minutes at 70 degrees F and 50 percent relative humidity, and once that outer layer sets any movement damages the bond. Higher temperature and humidity shorten that window. Cold and dry conditions extend it.
Getting It Right for Your Shop
There is no single correct answer here. It depends on sink weight, bond area, how much control you have over the site during cure, and whether your process is already set up for drilling.
If the drilling step is what you are trying to eliminate, note that you have two ways to get there. Adhesive removes the hardware entirely, and glue-on anchors keep the hardware while removing the holes. Which one fits depends on how much you value being able to reposition the sink and how soon the plumber needs access.
Tell us what you are installing, what your current method is, and where it is causing you problems. We will give you a straight answer about which approach fits, including when the answer is to keep doing what you are already doing.
For neutral background on adhesive and sealant selection, the Adhesive and Sealant Council publishes educational material on adhesive technologies and end-use considerations.