10 Best Practices for Using Two Part Adhesive Cartridges
Two part adhesive cartridges take the measuring out of structural bonding. The cartridge sets the ratio, the dispensing gun drives both components together, and the static mixer blends resin and hardener in the last few inches before the bead hits the part. Compared with hand mixing from cans, it removes most of the ways an operator can get the ratio wrong.
Most of them. Cold storage, the wrong gun, an incompatible mixer, a skipped equalization step, a long pause mid-bead, or a blown working-time window can all put off-ratio or partly cured material on the part.
The practices below apply to two part adhesive cartridge systems across chemistries, including structural acrylics (MMA), epoxies, and urethanes. The manufacturer’s Technical Data Sheet, Safety Data Sheet, and application instructions are the final authority for any specific product.
1. Start with the correct cartridge, gun, and mixer
A two part adhesive cartridge works as a system. The cartridge, dispensing gun, plungers, mix ratio, outlet connection, and static mixer all have to match.
Before loading a cartridge, confirm:
- Cartridge size (50 mL, 200 mL, 400 mL, and so on)
- Mix ratio, such as 1:1, 2:1, 4:1, or 10:1
- Cartridge configuration (side-by-side or coaxial)
- Correct dispensing gun or plunger set
- Static mixer connection style
- Recommended mixer diameter and number of mixing elements
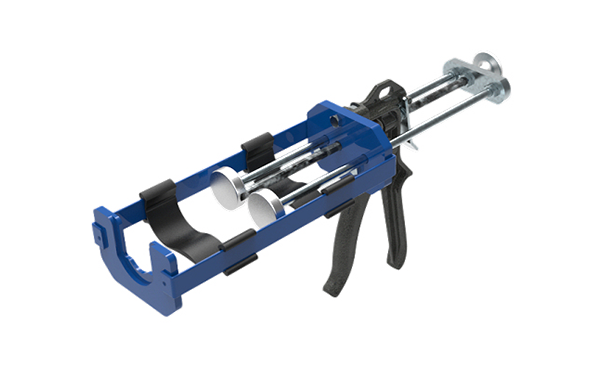
A gun that physically holds the cartridge may still be the wrong gun. The plungers have to match the cartridge geometry and ratio, or one side advances faster than the other.
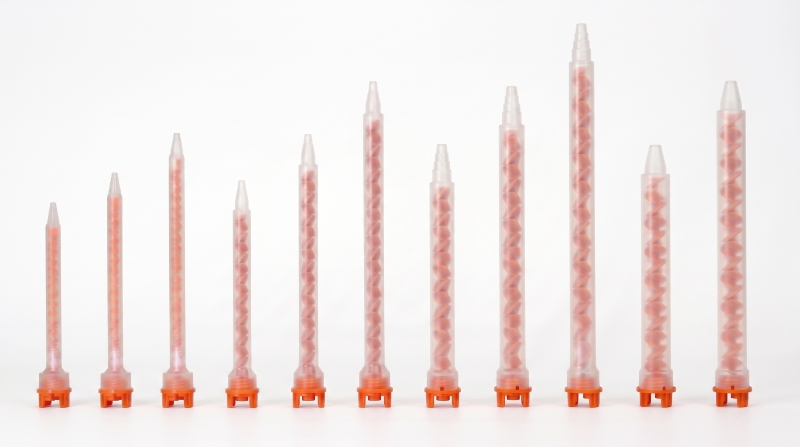
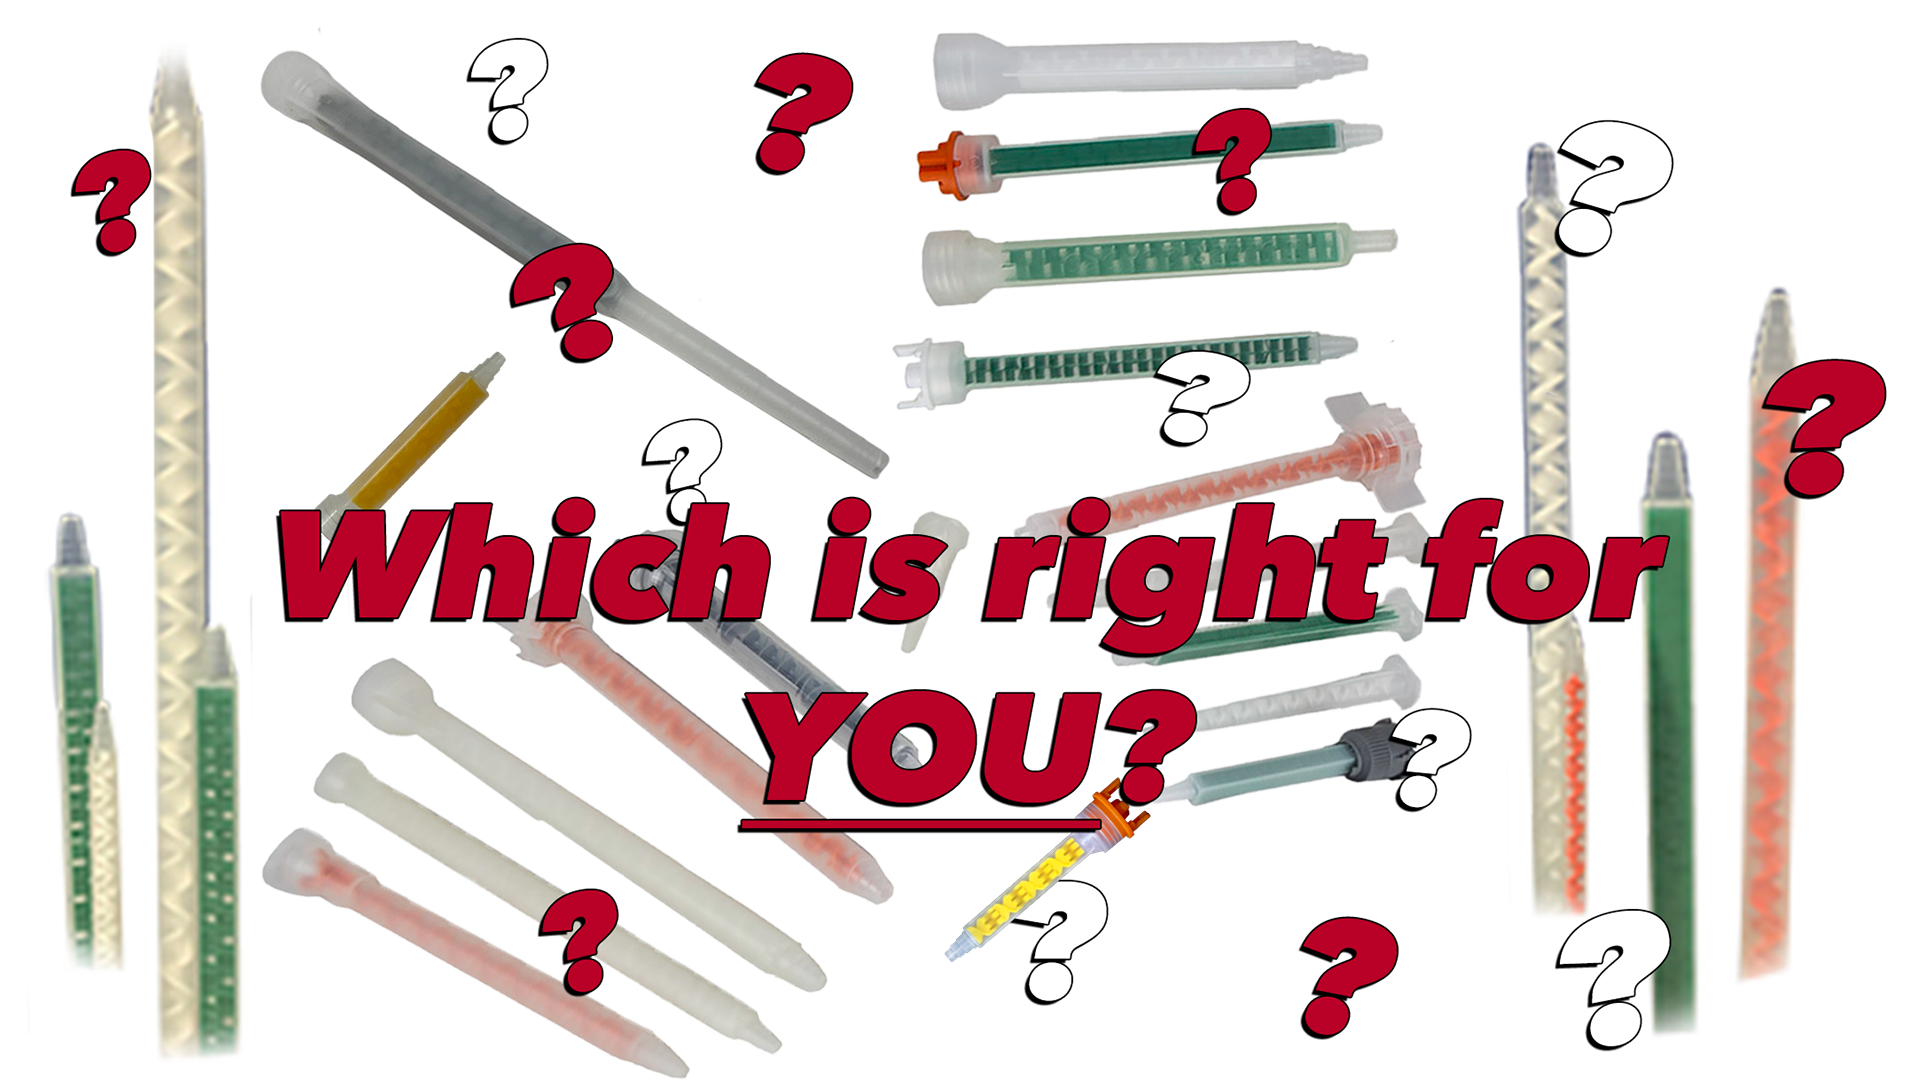
Static mixers work the same way. Diameter, internal geometry, element count, and connection style all affect mix quality, flow resistance, and the force needed to dispense. Our guide on how to choose the right static mixer covers the selection in more detail.
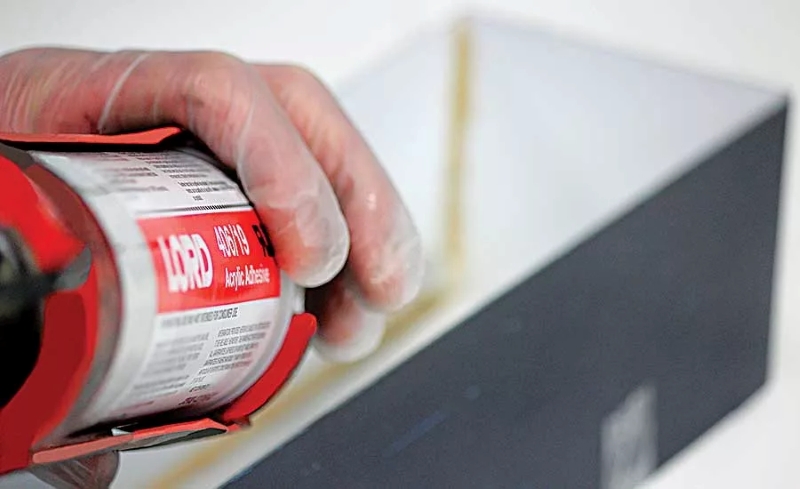
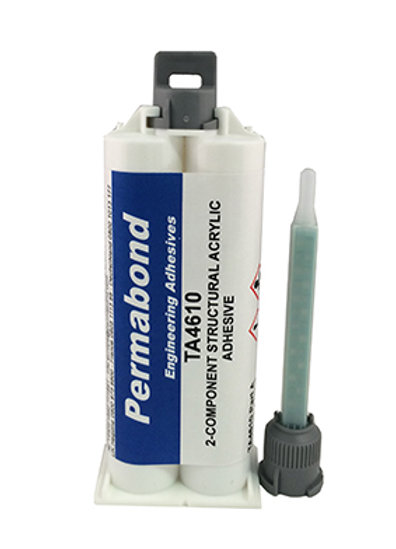
This matters most in shops that run several adhesives. Chem-Set 605 Quick Set Acrylic is a 1:1 system, LORD 406/19 is 4:1, and Permabond TA4610 is 1:1 with its own recommended mixer. All three are two-component structural acrylics, and each can call for different hardware.
Set up each workstation with the approved gun and mixer for its adhesive so operators never have to work out compatibility on the fly.
2. Store the adhesive to the manufacturer’s requirements
Temperature affects the adhesive sitting in the cartridge and the reaction once it is mixed.
Store two part adhesive cartridges inside the range stated on the TDS. Pay attention to:
- Minimum and maximum storage temperature
- Shelf life
- Lot or expiration date
- Refrigeration requirements, if any
- Conditioning time required before use
- Whether the product tolerates freezing
Rotate adhesive inventory first-in, first-out where practical.
Cartridges stored in a cold warehouse get much harder to dispense. Permabond’s TA4610 data sheet, for example, lists a cartridge storage range of 41°F to 77°F, and Permabond’s dispensing guidance notes that adhesive thickens when cold. Warm material dispenses more easily but reacts faster once mixed.
Skip the idea of one storage temperature for every adhesive in the shop. Different chemistries and formulations have different requirements.
3. Bring the cartridge and parts to application temperature
Application temperature drives viscosity, flow, working time, fixture time, and cure.
A cartridge pulled straight off a cold truck can take far more force to dispense than conditioned material. Cold substrates slow a chemical cure. Hot material or hot parts shorten the working time.
Before production starts, let the adhesive and the parts reach the temperature range approved for the application. Watch closely when bonding:
- Large aluminum or steel assemblies
- Parts stored outdoors
- Refrigerated components
- Dark substrates heated by sunlight
- Parts moving between conditioned and unconditioned areas
Temperature control is part of process control.
4. Prepare the bonding surfaces before opening the cartridge
The dispensing process cannot make up for poor surface preparation.
Oil, dust, oxidation, mold release, machining fluids, and moisture all interfere with adhesion. Requirements vary widely by adhesive and substrate. Depending on the system, preparation may involve:
- Wiping with an approved cleaner
- Removing oil or processing residue
- Abrading the surface
- Removing loose oxidation
- Applying a primer
- Plasma, corona, or another surface treatment
- Cleaning only, with no further treatment
Follow the adhesive manufacturer’s instructions for the materials being bonded. Our guides to bonding metal and bonding plastic cover the common substrate cases.
Finish surface prep before starting the adhesive whenever possible. Once a fast-curing adhesive enters the static mixer, the working-time clock is running.
5. Equalize the cartridge before installing the static mixer
This is one of the most important steps when working with two part adhesive cartridges.
Remove the cartridge cap or plug and load the cartridge in the correct applicator. Apply light pressure until material flows visibly from both outlets. The step goes by several names: equalizing, balancing, leveling, or burping the cartridge.
The goal is to confirm both components are moving before they reach the mixer. The two chambers rarely start at exactly the same instant, particularly on a new cartridge. Parker LORD’s Maxlok training guide describes it as advancing the plungers until adhesive is extruding equally from both ports.
Once both materials are flowing:
- Stop dispensing.
- Clean the outlet face as instructed for the product.
- Install the approved static mixer.
- Secure the retaining nut or locking mechanism.
Skip this step and the first material into the mixer can be off ratio. The cartridge can hold the correct overall proportions and still produce a badly proportioned first shot.
Write cartridge equalization into the standard operator procedure so it happens on every new cartridge and every restart.
6. Purge the static mixer before bonding parts
After installing a new mixer, dispense onto scrap before applying adhesive to the assembly.
The purge does four things:
- Fills the static mixer
- Establishes steady flow
- Clears the material that entered during startup
- Lets the operator inspect the mixed adhesive
Purge quantities differ by manufacturer. Permabond’s dispensing troubleshooting guide calls for about an inch of adhesive onto a paper towel. Parker LORD calls for a 1/4-inch bead the length of the mixer. Follow the instructions for the product in the gun.
With pigmented systems, check the bead for consistent color and streaking. Clear adhesives give no visual cue, which makes correct equipment and the prescribed purge even more important.
Material reaching the end of the nozzle does not mean it is ready for a production bond. Purge first, every time.
7. Dispense a controlled, consistent bead
Once the system is set up, keep pressure and travel speed steady.
The target is a repeatable bead that gives the required coverage without trapping air or varying along the joint. Bead size depends on:
- Joint width
- Bondline thickness
- Part fit
- Adhesive viscosity
- Required coverage
- Joint design
Resist the urge to run a bigger bead on the theory that more adhesive makes a stronger joint. Structural joints are designed around a specific bond area and bondline thickness, and the extra adhesive mostly ends up as squeeze-out.
For repetitive production work, pneumatic and battery-powered dispensers improve bead consistency and reduce operator fatigue, especially with high-viscosity material or large cartridges. Manual guns remain a good fit for lower-volume work when the operator can hold steady control.
If dispensing force suddenly climbs, stop and find out why. A curing mixer, cold adhesive, blocked outlet, wrong mixer, or excess back pressure can crack a cartridge or damage the gun. On pneumatic guns, stay under the air pressure limit the dispenser and cartridge manufacturer set.
8. Respect the adhesive’s working time
Working time starts the moment the two components begin mixing. Parts have to be positioned, assembled, and clamped inside that window under actual shop conditions.
Keep these four stages separate:
- Working time
- Fixture or handling time
- Functional cure
- Full cure
They describe different points in the reaction, and our structural adhesive terminology post defines each one. A product that reaches handling strength quickly may still need much longer before the joint carries its full design load. Chem-Set 605, for example, lists a working time of 3 to 6 minutes and a fixture time of 10 to 15 minutes at 72°F on its product page.
Working time listed at room temperature can change substantially when the adhesive, the parts, or the shop is hotter or colder.
For production, choose an adhesive whose working time covers dispensing, assembly, positioning, and clamping without rushing the operator.
9. Replace a mixer that has started to cure
Mixed adhesive stays in the static mixer whenever dispensing stops, and it keeps reacting.
A short pause may leave the mixer usable if the material inside is still within the manufacturer’s working or purge time. A longer interruption lets it thicken or cure in place.
Never force cured adhesive out of a blocked mixer. Excess force can:
- Crack or deform the cartridge
- Push material past the pistons
- Damage the dispensing gun
- Produce an unpredictable first shot
- Stop production
Install a fresh mixer and follow the manufacturer’s restart procedure. Static mixers are disposable. Do not flush one out and put it back in service.
In high-volume shops, treat extra mixers as normal production consumables. A mixer costs a small fraction of rebuilding a structural assembly because someone tried to save a partly cured nozzle.
10. Follow the product-specific shutdown and restart procedure
No single storage procedure applies to all two part adhesive cartridges. Depending on the adhesive and packaging, the manufacturer may tell users to:
- Leave the used mixer attached until the next use
- Remove the mixer and reinstall the original sealing cap
- Clean the cartridge outlets before storage
- Equalize the cartridge again before installing the next mixer
Parker LORD’s guide allows leaving the mix nozzle on a partly used cartridge, then removing it and leveling the cartridge again before the next use. Permabond’s nozzle guidance gives both options: leave the old nozzle on as a seal, or refit the cap with its prongs the right way around to avoid cross-contamination. Follow the procedure for the adhesive in use.
This matters in shops that carry several brands. A storage habit learned on one system should not carry over to another without checking the TDS.
Post a short cartridge-use instruction at each workstation for the products used most.
Which dispensing gun should you use
Match the gun to cartridge size, ratio, and daily volume.
- 50 mL cartridges, occasional use: a manual gun sized to the ratio. The Medmix MIXPAC DMA 51 handles 1:1 and 2:1 cartridges.
- 200 to 415 mL LORD cartridges, moderate volume: the LORD Ratio-Pak manual gun, which runs 1:1, 2:1, 4:1, and 10:1 configurations.
- Production bonding with 400 mL-class cartridges: go pneumatic. The LORD Ratio-Pak pneumatic dispenser covers 4:1 packages like LORD 406/19, and the Albion AT600 covers 1:1 300 x 300 mL cartridges.
If the shop has air at the workstation and runs more than a few cartridges a shift, buy the pneumatic gun. Bead consistency improves and operators tire less over a long run.
Troubleshooting two part adhesive cartridge problems
Adhesive stays soft or does not cure
Possible causes:
- Cartridge was not equalized
- Wrong dispensing gun or plunger configuration
- Wrong static mixer
- Insufficient mixer purge
- Material past its shelf life
- Material or substrate outside the recommended temperature range
- Contamination
- Incorrect surface preparation
More cure time will not fix an off-ratio mix. Permabond’s troubleshooting guide lists incorrect mix ratio as a common cause of poor cure.
Adhesive is hard to dispense
Check for:
- Cold adhesive
- High material viscosity
- Partly cured adhesive in the mixer
- A mixer too restrictive for the material
- Blocked cartridge outlet
- Damaged cartridge
- Wrong dispensing equipment
Applying more force until the cartridge moves makes the problem worse. Find the cause first.
Cartridge leaks or fails during dispensing
Stop using the cartridge. Inspect the mixer, outlet, applicator, and cartridge for back pressure or damage. A partly cured mixer creates significant resistance. Replace damaged components rather than returning them to service.
Adhesive cures faster than expected
Check the temperature of the cartridge, the work area, and the bonding surfaces. Then confirm the product and working-time grade are correct for the application.
Adhesive cures more slowly than expected
Check application temperature first, then verify cartridge equalization, mixer compatibility, material age, mix quality, product identification, and the manufacturer’s cure requirements. Some products reach handling strength well before full cure.
Build a repeatable cartridge procedure
For production bonding, the best adhesive process is one operators can repeat shift after shift. A basic workstation procedure should list:
- Adhesive and cartridge size
- Correct dispensing gun
- Correct static mixer
- Storage and conditioning requirements
- Surface preparation
- Cartridge equalization procedure
- Mixer purge requirement
- Bead size or application method
- Working and fixture time
- Mixer replacement rule
- End-of-shift storage procedure
- Required PPE
A written procedure takes the guesswork out of the job and makes operator training much easier.
High-ratio seaming adhesives add their own wrinkles. Our helpful hints for users of 10-to-1 adhesives cover those systems.
Frequently asked questions
Do I need to purge a two part adhesive cartridge before installing the mixer?
Yes. For most two-component cartridge systems, both components should be flowing from their outlets before the static mixer goes on. Follow the product instructions for the exact equalization procedure.
How much adhesive should I purge through a new static mixer?
Use the amount the manufacturer specifies. Permabond calls for about an inch onto a paper towel. Parker LORD calls for a 1/4-inch bead the length of the mixer.
Can I reuse a static mixer?
Only while the adhesive inside is still usable. Once material starts curing in the mixer, replace it. Do not remove a cured plug and keep dispensing through the same mixer.
Can I use any static mixer that fits the cartridge?
No. Physical fit does not establish compatibility. Connection type, diameter, element count, mix ratio, viscosity, flow rate, and required mixing performance all matter. If the specified mixer is unavailable, our guide to finding the right static mixer substitute walks through the checks.
Should I leave the mixer on the cartridge after use?
Follow the manufacturer’s instructions. Some systems use the spent mixer as a temporary seal, while others say to remove it and reinstall the cartridge cap.
Why is my two part adhesive not curing evenly?
Common causes are incomplete equalization, wrong equipment, poor mixing, material temperature, expired adhesive, or contamination. Check the full cartridge, gun, mixer, and application procedure against the manufacturer’s instructions.
Get help matching the cartridge, gun, and mixer
Chemical Concepts stocks structural adhesives and dispensing equipment across a wide range of chemistries, cartridge sizes, and mix ratios.
Send us the adhesive SKU or cartridge you are running and our team will identify the correct dispensing gun and static mixer and review the application requirements for your bonding process. Contact our team to get started.