Why More and More Fabricators Are Switching to Keep-Nut™ Mechanical Anchors for Sink Installation
Every undermount sink installation carries the risk of a future callback. When traditional adhesive systems fail, you’re not just replacing a sink—you’re protecting your reputation, maintaining profitability, and ensuring long-term customer satisfaction.
This guide explains why Keep-Nut™ mechanical anchors are replacing adhesive-based methods in professional fabrication shops. You’ll see actual strength data, learn the installation techniques that prevent callbacks, and discover why this system works across all material types.
The Problem with Adhesive Anchoring
Traditional mounting systems fail because they require perfect conditions that rarely exist in real kitchens.
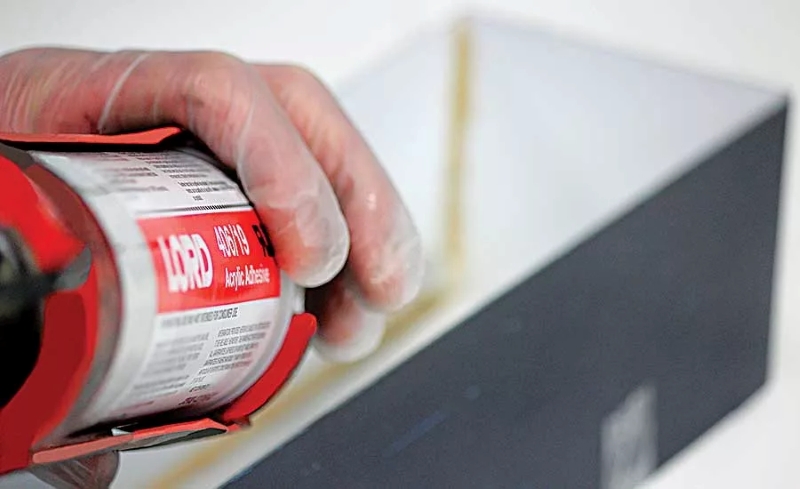
Adhesive systems create multiple pain points: moisture penetrates adhesive bonds, dishwasher heat creates thermal cycling stress, and heavy sinks apply constant downward pressure on connections not designed for sustained loads. Beyond performance issues, customers need to factor in the cost of the adhesive and the time spent waiting for the adhesive to cure.
Adhesive anchors are only a small fraction of Keep-Nut’s competition. Most shops are using wooden sink brackets or cheap drill-in anchors that are not universal to thin materials like porcelain. These traditional methods create additional selling points when positioning Keep-Nut’s universal compatibility.
The real damage isn’t just the failed sink—it’s what happens to your business. Service calls cut into margins, warranty work ties up crews, and customers lose confidence, stopping referrals.
How Keep-Nut™ Solves the Problem
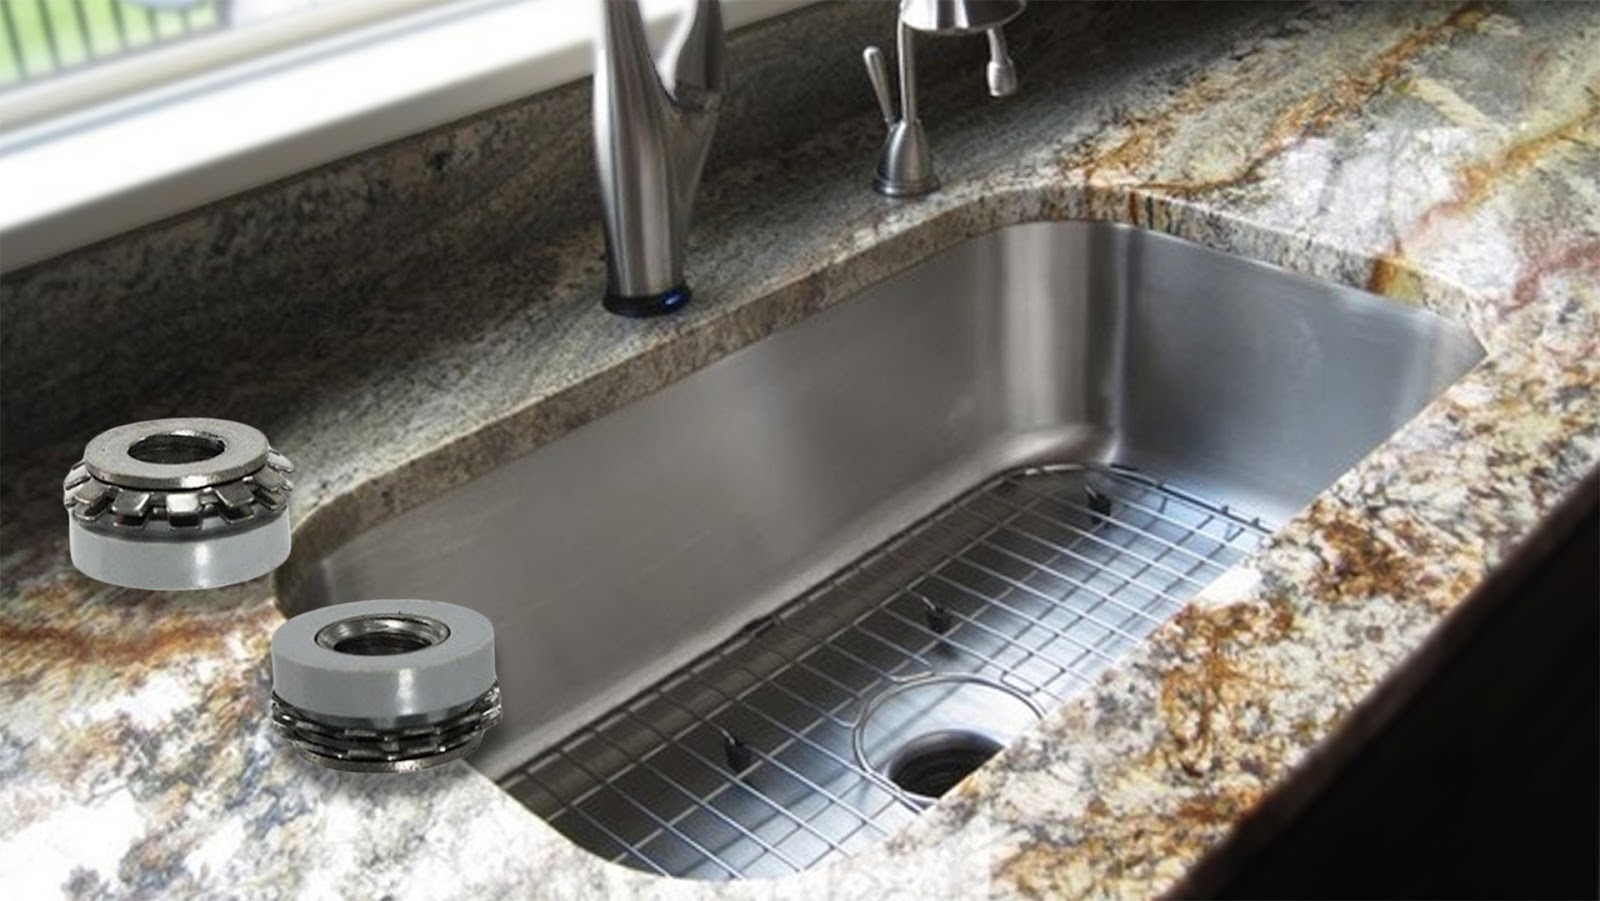
Keep-Nut™ creates a mechanical lock inside the countertop material. The insert goes into a precisely drilled hole, then elastic crowns expand outward to grip the interior walls. Unlike surface-mounted adhesives that rely on bond strength, Keep-Nut™ creates an internal mechanical connection that distributes loads throughout the countertop material.
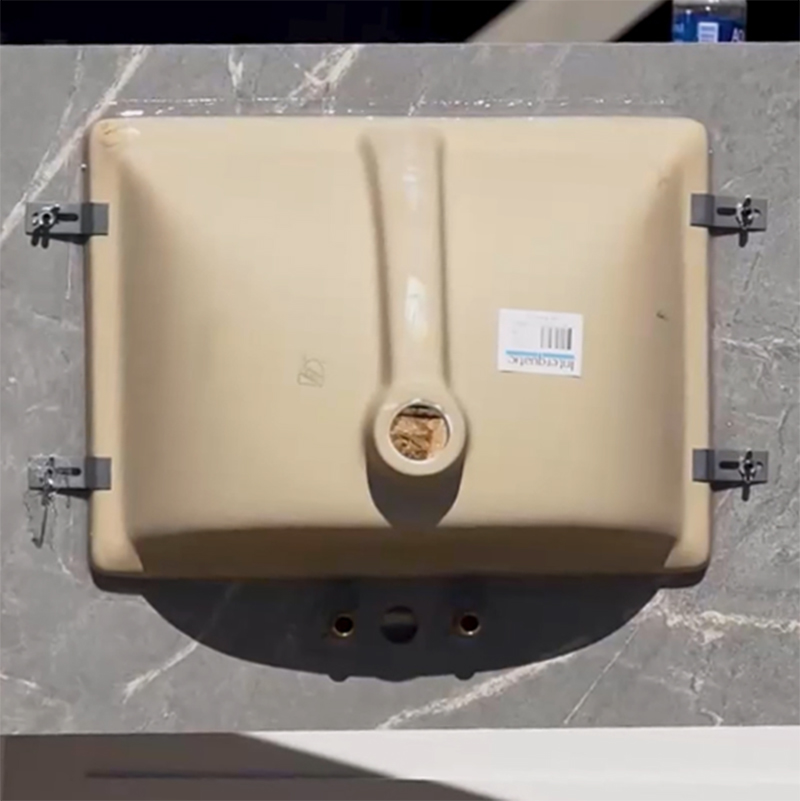
This mechanical approach delivers five critical advantages that traditional systems cannot match:
- Fast, Simple Installation: Press-in, self-anchoring design eliminates adhesives and cure times, allowing you to complete installations immediately without waiting periods that delay project completion.
- Exceptional Holding Strength: Each IM2S/P1.4-20/H6 insert provides an average pull-out resistance of 562 lbs, creating substantial safety margins even for the heaviest sink installations.
- Universal Material Compatibility: The system securely mounts to granite, marble, quartz, porcelain, solid surfaces, glass, UHPC, and composites, eliminating the need for different anchoring systems across material types.
- Long-Term Reliability: Stainless steel construction withstands moisture, temperature cycling, and mechanical stress without degradation, ensuring installations that last decades without failure.
- Flexible Installation Methods: Precision drilling works with CNC equipment, manual grinders, or the KDM115 Drilling Machine, adapting to both shop-based and on-site installation requirements.
This eliminates every major failure mode of adhesive systems. No moisture sensitivity because there’s no adhesive to break down. No temperature problems because metal withstands heat cycles. No cure time issues because you get full strength immediately after installation.
Real-World Performance Data
Keep-Nut™ anchors have been independently tested according to ASTM C1354 standards, demonstrating superior performance across all common countertop materials.
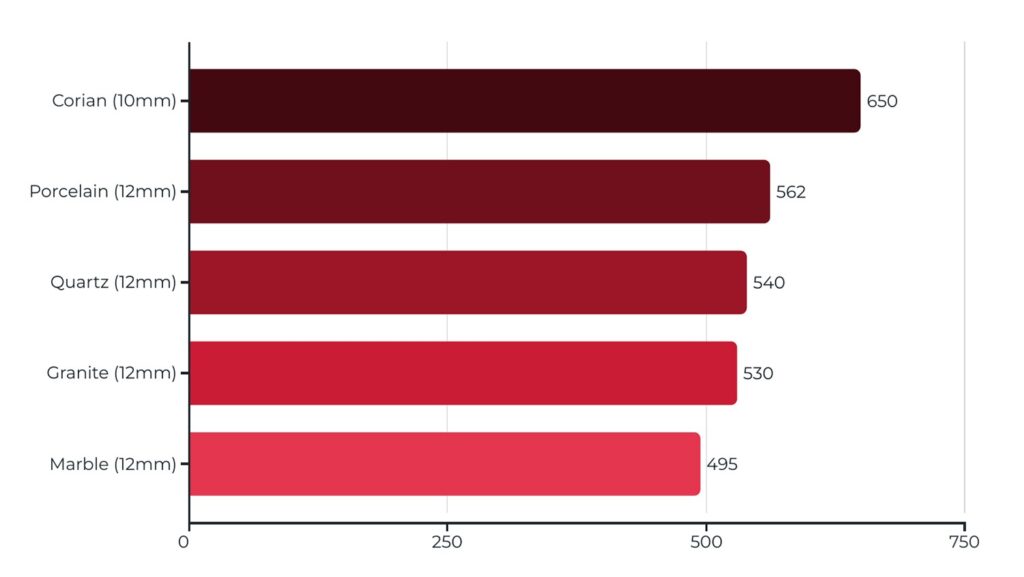
Strength Testing Results
Testing shows pull-out strength averaging 500–650 pounds per anchor across granite, quartz, porcelain, and solid surface materials. These values come from both in-house testing and ASTM C1354-certified evaluations, providing a reliable performance baseline for most fabrication scenarios.
In one ASTM-verified test, the IM2S/P1.4-20/H6 insert achieved an average pull-out strength of 562 lbs in stone-based substrates [link to ASTM/Specialinsert PDF]. Additional material-specific testing conducted by Specialinsert confirms consistent strength across a range of surfaces: granite (490 lbs), Corian 12mm (484 lbs), and HPL 10mm (611 lbs). Even in thinner panels or composite materials, the system holds well within structural tolerances.
Load distribution testing further shows that multiple Keep-Nut™ anchors share weight evenly, preventing overload on any single point. This reduces the likelihood of localized failures, a common issue with adhesive systems under thermal cycling or mechanical stress.
Long-term aging simulations have also been performed, exposing the system to cycles of heat, moisture, and mechanical load. Results show no measurable loss in holding power, reinforcing Keep-Nut’s suitability for kitchens, bathrooms, and commercial environments where durability is non-negotiable.
Long-Term Reliability
Accelerated aging tests simulate years of exposure to moisture, temperature cycling, and mechanical stress. Keep-Nut™ anchors show no degradation in holding strength after testing equivalent to decades of normal use.
Field installations confirm laboratory results, with no reported failures in thousands of installations across various material types and environmental conditions.
Step-by-Step Keep-Nut™ Installation Process
Step 1: Drill Clean, Precise Holes
There are two main methods of drilling: CNC and manually using the KDM115.
Use the correct bit for your material—blue-coded for stone and quartz, white-coded for porcelain and ceramic, and orange-coded universal bits for mixed applications. The system requires exactly 11.5mm holes at the correct depth. Oversized holes prevent proper expansion; undersized holes prevent full insertion.
Sharp bits are essential. Dull bits create oversized holes and chip brittle materials. Use consistent feed rates to prevent bit loading and maintain clean cuts.
SEE HOW IT’S DONE IN CNC SETUPS: Installing Keep-Nut™ Anchors in 12mm Porcelain
SEE MANUAL INSTALLATION USING THE KDM115A DRILLING MACHINE: Introducing the KDM115 Keep-Nut™ Drilling Machine
Step 2: Insert and Set Anchors
Before inserting any anchors, use the Go/No-Go Gauge to verify proper hole depth. The gauge prevents the two most common installation errors: holes that are too shallow (preventing full anchor engagement) and holes that are too deep (compromising the anchor’s expansion mechanism).
Use the setting tool, as it provides a controlled insertion force that seats anchors flush with the surface without over-compressing the expansion mechanism.
Check that each insert sits perfectly flush. Proud anchors indicate incomplete hole depth. Recessed anchors suggest oversized holes or incomplete insertion.
Step 3: Assemble the Connection
Follow this sequence: Allen post into anchor, sink clip onto post, wing nut to secure. This order ensures optimal load transfer and prevents binding. Position the sink before final tightening—adjustments become difficult once everything’s locked down.
Test each connection with a moderate upward force before completing the job. This quick check confirms proper mechanical engagement.
Choosing the Right Keep-Nut™ Components
The complete system includes three main parts that work together for reliable installations.
Keep-Nut™ Inserts
These stainless steel anchors form the system’s core. Elastic crown technology creates a mechanical lock inside the hole, while 1/4-20 threads are compatible with standard sink hardware. Their corrosion resistance makes them ideal for wet environments.

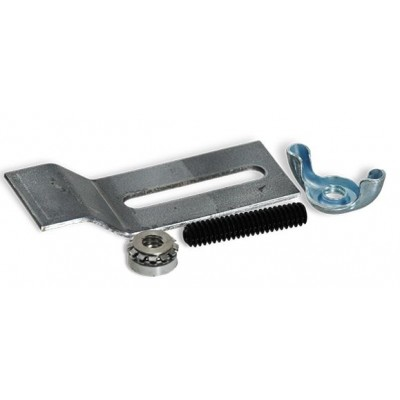
These Allen posts connect the anchor to your sink clips. The 1-1/4″ post length fits most rim types. Star washers help evenly distribute pressure and resist loosening from vibration.
Your Choice of Sink Clips
These metal sink clips hook onto the sink rim and transfer loads to the anchor system. Available in multiple profiles, including Z-shaped, L-shaped, and adjustable designs to accommodate different rim thicknesses and sink configurations without scratching or damaging finishes.
These metal sink clips hook onto the sink rim and transfer loads to the anchor system. The Z-profile adapts to different rim thicknesses without scratching or damaging finishes.
Keep-Nut™ Undermount Sink Anchor Kit
For added convenience, the Keep-Nut Kit bundles all the individual components (keep-nut, allen post, wing nut, washer, and Z-clip) for a fast and secure undermount sink installation. This all-in-one solution simplifies ordering.
Drilling Equipment
Success with Keep-Nut™ starts with the right tools. The Go/No-Go depth gauge eliminates guesswork in hole depth—critical for proper anchor performance. The Keep-Nut™ setting tool ensures precise insertion and proper seating every time.
READ MORE: Keep-Nut Precision Drilling Machine: How it Works
For drilling bits, you have two approaches:
Premium Universal Bits
Orange-coded universal bits work across all material types—porcelain, quartz, stone, and more. They cost more upfront but offer longer lifespan, cleaner cuts, and greater versatility. Ideal for shops handling varied jobs and looking to reduce tool changeover and inventory complexity.
Economic Material-Specific Bits
These color-coded bits (blue for stone and quartz, white for porcelain and ceramic) are cost-effective for high-volume operations that consistently work with the same material type. While they require maintaining a wider range of bits, the lower initial cost makes sense for predictable workflows.
Tooling and Drill Bits Equipment Guide
Essential Installation Tools:
| Tool | Photo | Function |
| Go/No-Go Depth Gauge | 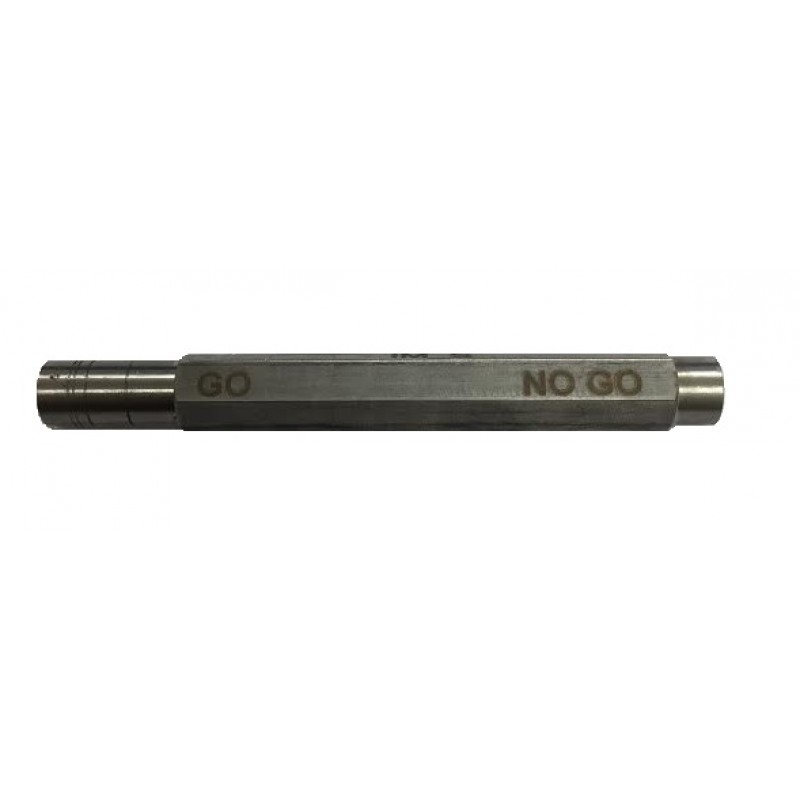 | Ensures accurate hole depth for optimal anchor performance |
| Keep-Nut™ Setting Tool |  | Facilitates precise anchor insertion and seating verification |
Premium Universal Drilling Bits:
| Bit Type | Photo | Drilling Method | Compatible Surfaces |
| 11.5mm 5/8-11 Thread Grinder Bit (Orange) | 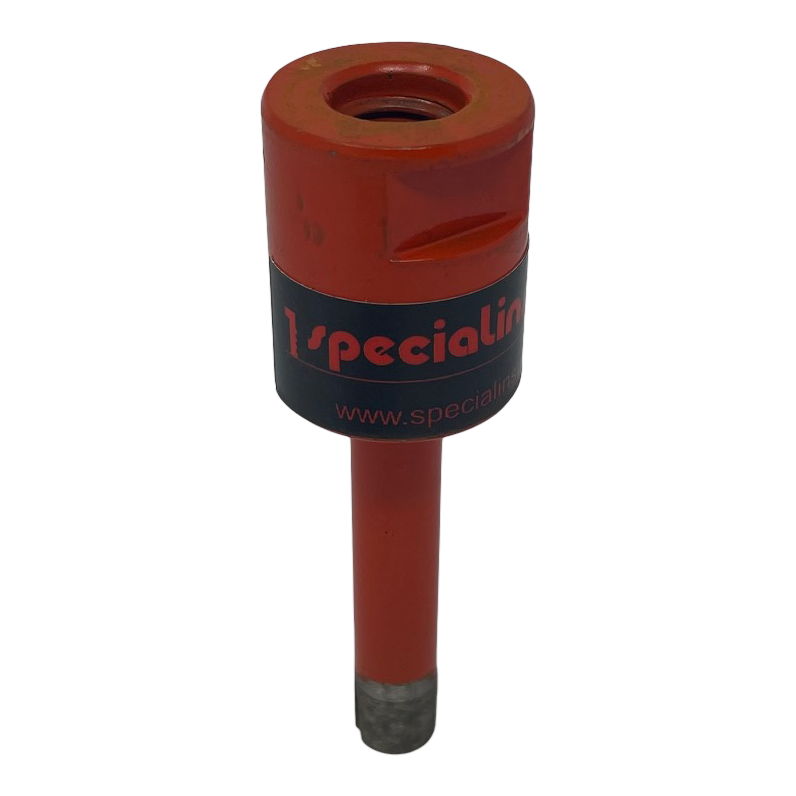 | Manual Grinder | Universal — All Surfaces |
| 11.5mm CNC Bit (Orange) | 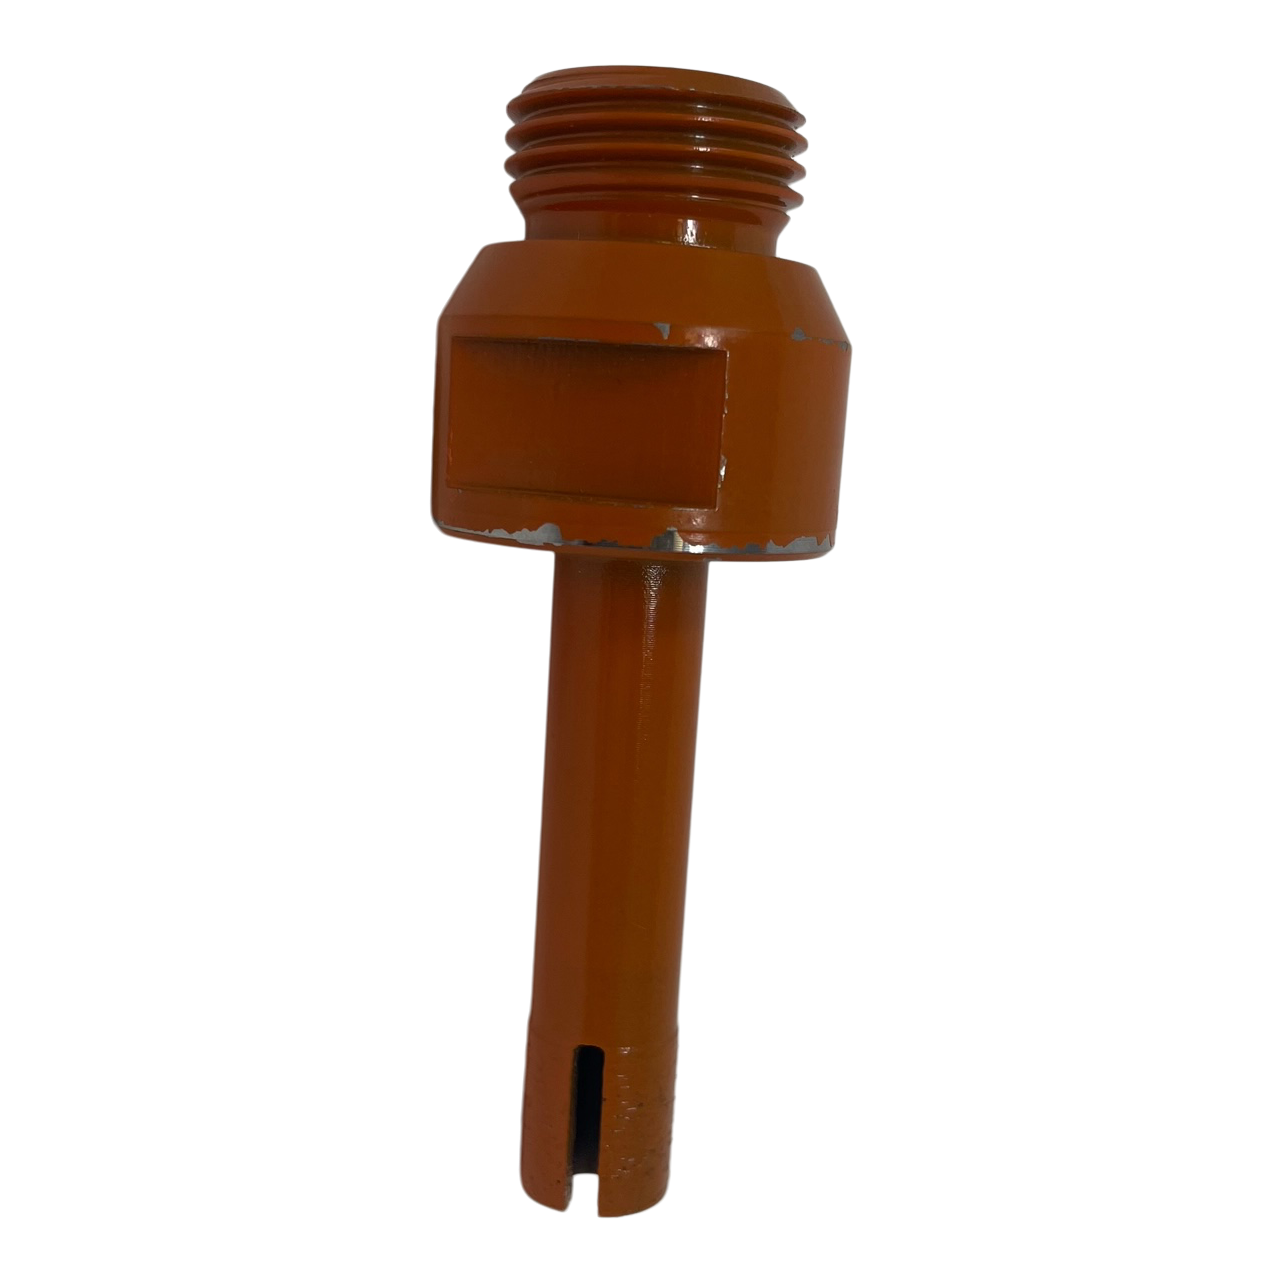 | CNC Router | Universal — All Surfaces |
Economic Material-Specific Bits
| Bit Type | Photo | Drilling Method | Compatible Surfaces |
| 11.8mm CNC Bit (Blue) | 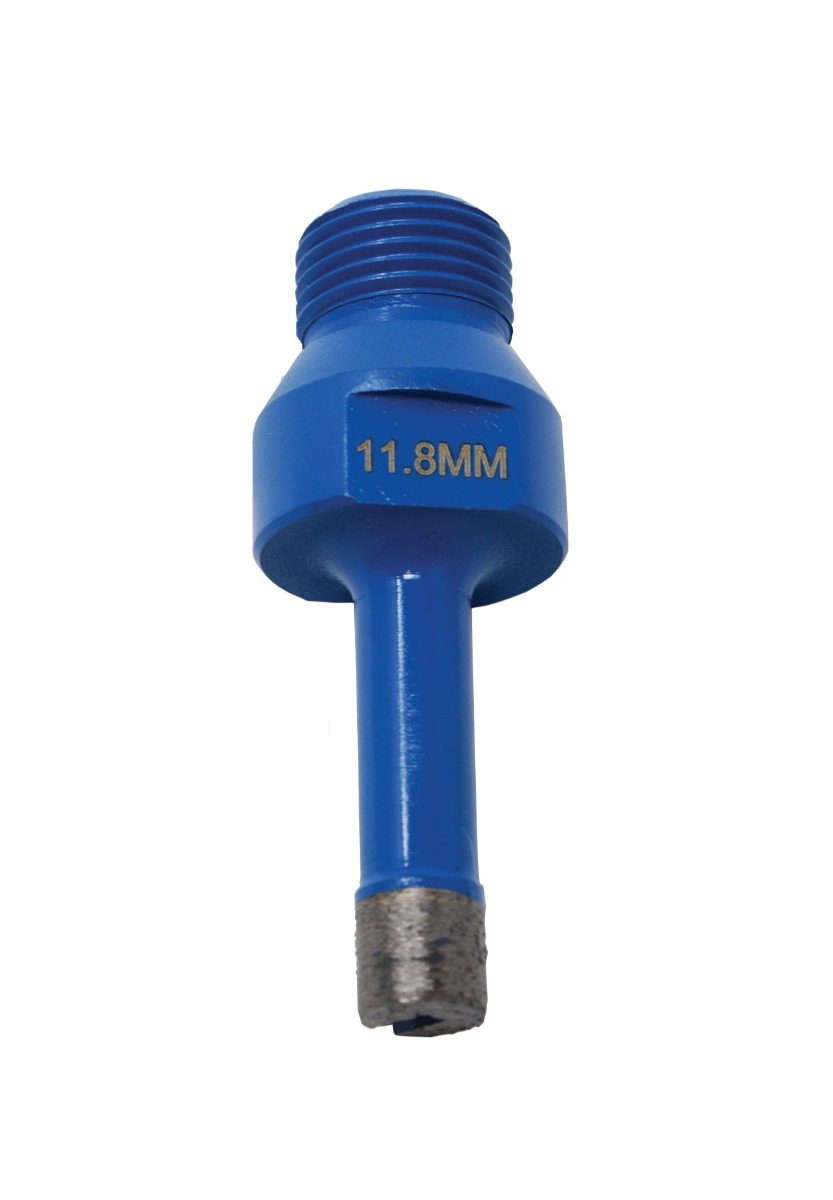 | CNC Router | Natural Stone & Quartz |
| 11.8mm CNC Bit (White) | 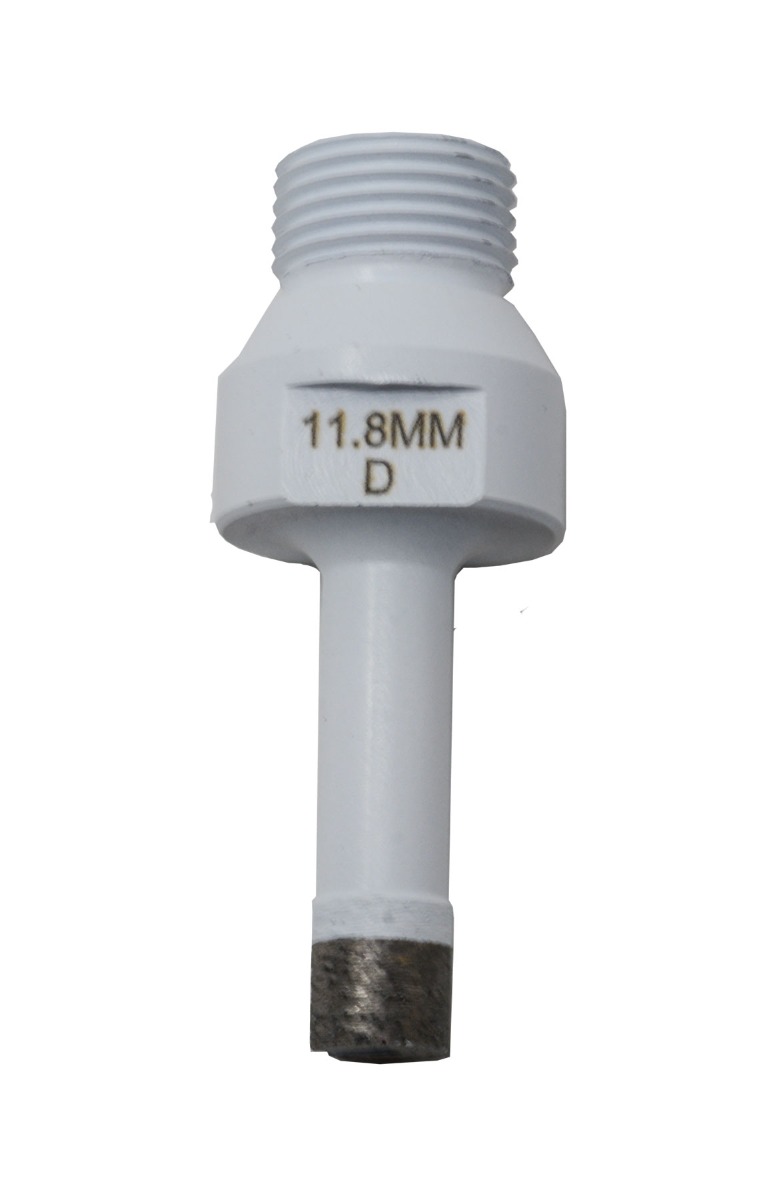 | CNC Router | Porcelain & Ceramic |
| 11.4mm 5/8-11 Thread Grinder Bit (Blue) |  | Manual Grinder | Natural Stone & Quartz |
| 11.4mm 5/8-11 Thread Grinder Bit (White) | 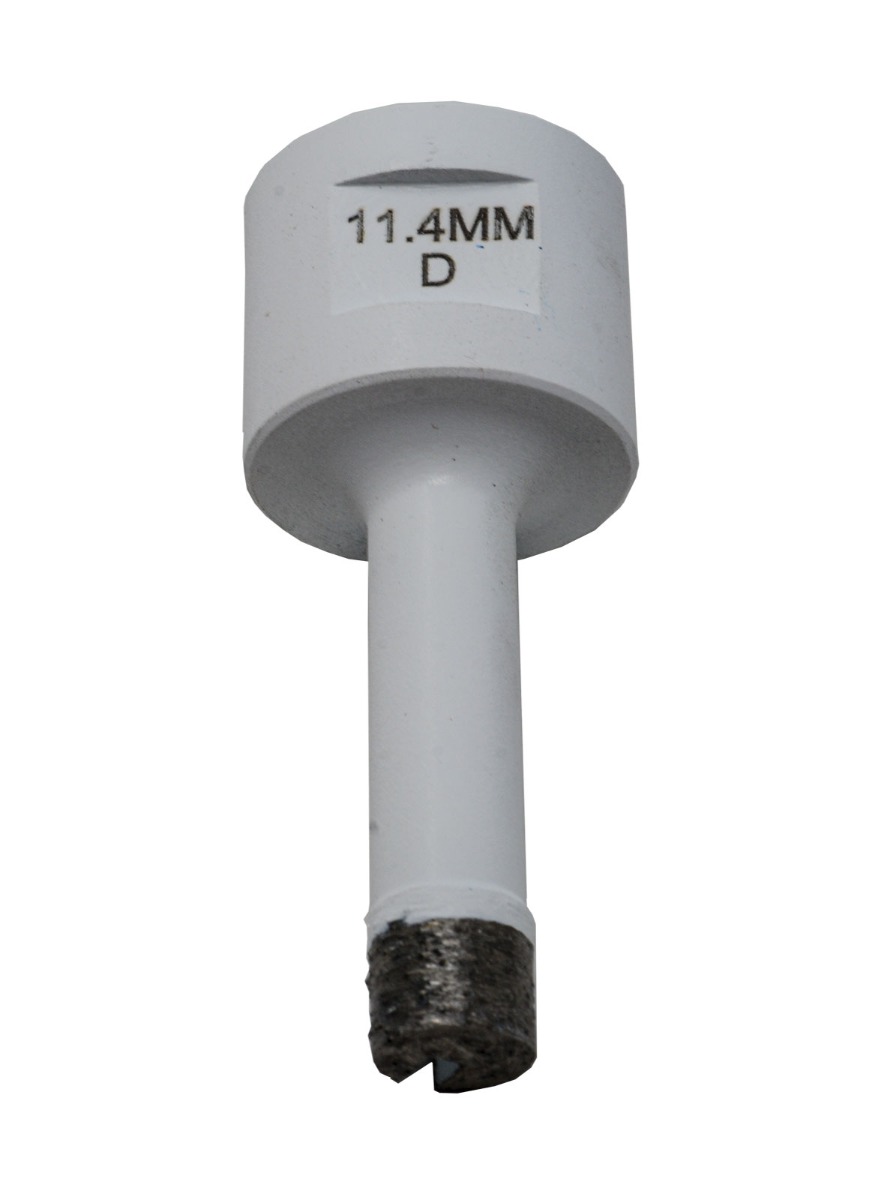 | Manual Grinder | Porcelain & Ceramic |
Material-Specific Considerations
Different countertop materials present unique challenges, but the same Keep-Nut™ system handles them all.
Ultra-Thin Materials
10mm and 12mm porcelain slabs, like Sapienstone, push most anchoring systems past their limits. There’s insufficient thickness for traditional deep anchors, brittle surfaces crack easily, and expensive materials make mistakes costly.
The 6.5mm Keep-Nut™ profile leaves ample material above and below the anchor for structural integrity. Controlled expansion prevents installation cracking while delivering full holding strength.
READ MORE: Easy Sink & Dishwasher Installations
Natural Stone and Quartz
These materials provide excellent anchoring substrates but demand proper drilling technique. Hard materials dull bits quickly, and density variations affect drilling speed and approach.
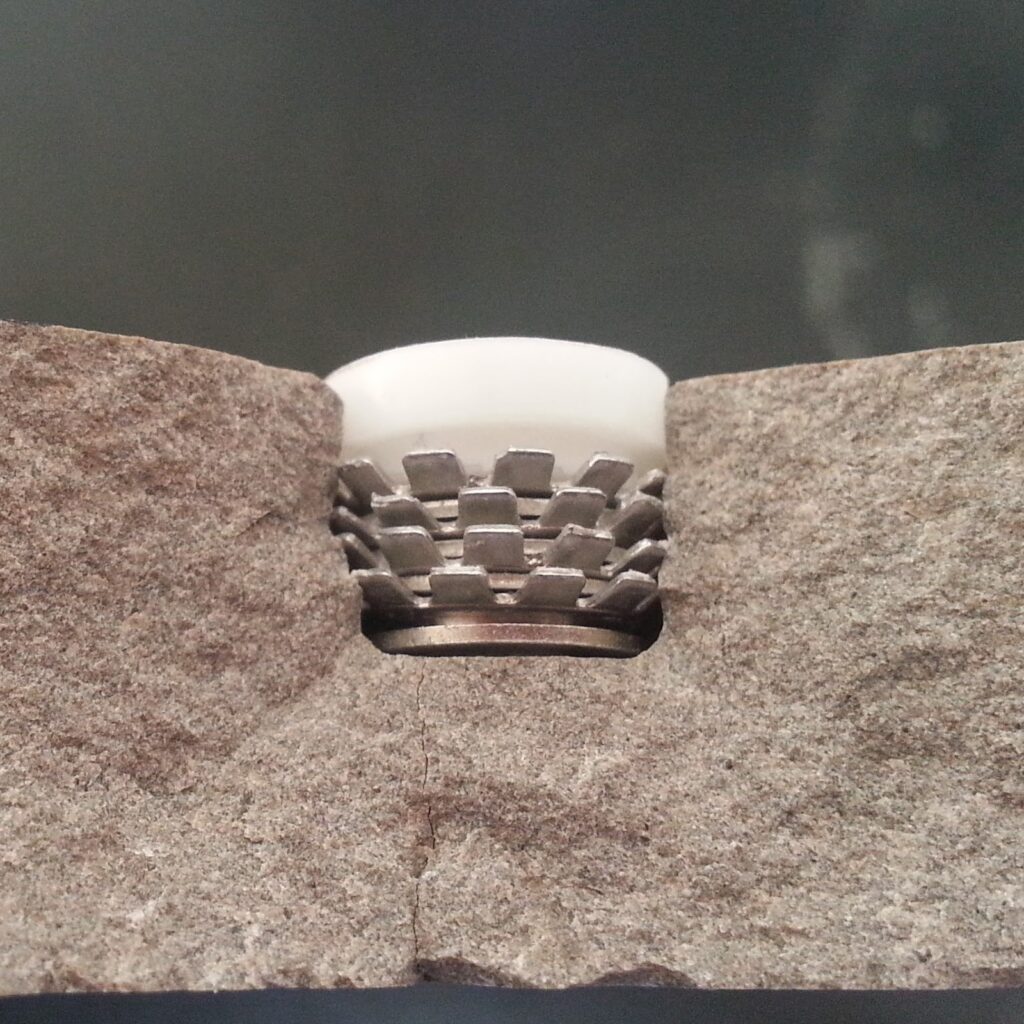
Keep-Nut™ performs consistently across all hardness levels. Whether you’re working with soft marble or hard granite, the mechanical expansion provides a reliable grip and consistent pull-out strength.
Heavy and Oversized Applications
Cast iron sinks and large formats require distributed anchoring that prevents overloading any single point. Traditional adhesives often fail at the highest-stress locations first.
Multiple Keep-Nut™ anchors share loads evenly across the entire perimeter. Each anchor operates independently—if one fails, the others continue carrying the load safely. Calculate total weight including water capacity, then distribute anchors to keep individual loads well below the 500-pound capacity.
Installation Techniques That Prevent Callbacks
Even with the right system, poor technique leads to weak installations. These steps are what separate reliable countertop fabrication work from expensive do-overs.
Drilling for Success
Use sharp, properly sized bits matched to the material. Oversized holes prevent proper expansion. Undersized holes block full insertion. Feed rate matters—too aggressive and you’ll chip the surface, too slow and bits will glaze or load up.
Clear every hole with compressed air. Leftover debris is one of the most common causes of incomplete seating. A 30-second cleanout prevents hours of rework later.
Proper Anchor Installation
Use the Keep-Nut™ setting tool. It applies controlled force to seat the insert flush with the surface—something hand installation rarely achieves. A proud anchor means the hole’s too shallow. A recessed one indicates the wrong bit size, incomplete seating, or expansion failure.
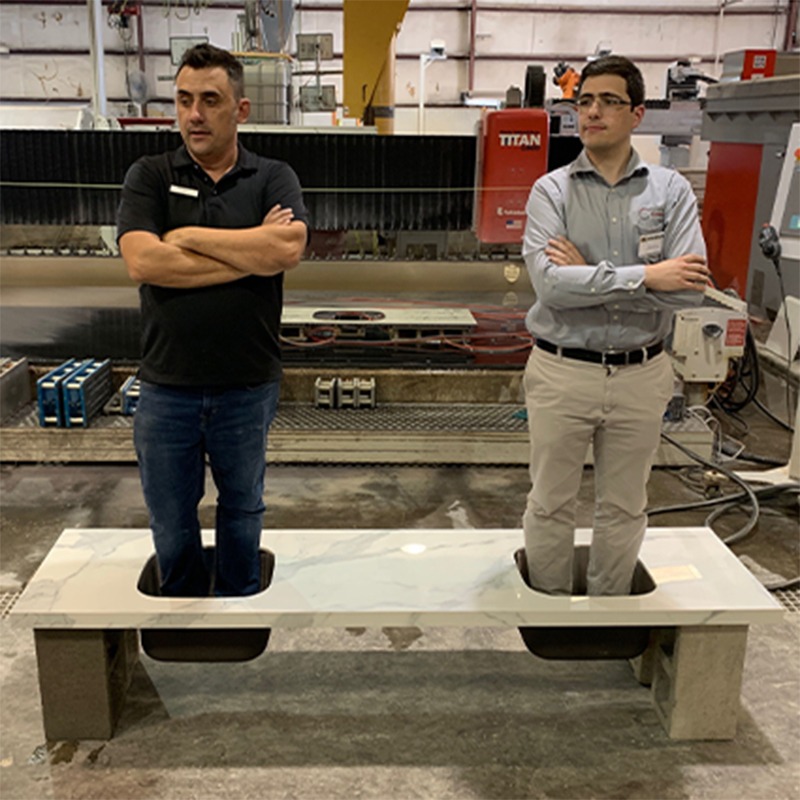
After placing all anchors, test each with upward force to confirm grip. If anything shifts, stop and re-check the hole specifications. Catch problems before the sink installation. If you’re wondering about the strength of a proper installation, see what happens when someone jumps into a cast iron sink held up by just four Keep-Nut™ fasteners.
Final Assembly and Quality Control
Attach sink hardware in the correct sequence: Allen post into anchor, sink clip onto post, wing nut to secure. This order maintains alignment and avoids stress risers or binding. Finalize sink position before tightening—adjustments are difficult once the system is locked in.
When finished, test for deflection under simulated load.
Conclusion
Keep-Nut™ anchors solve the failure modes that plague adhesive installations—no cure time, no temperature sensitivity, no bond degradation over time. Instead, you get consistent mechanical performance that holds across all conditions and materials.
This consistency translates into real operational value: fewer callbacks, tighter installation timelines, better labor efficiency, and jobs that don’t require follow-up. For shops managing high-volume or high-risk installations, the ROI appears quickly.
Most fabricators learn the system easily. But if you’re working with new materials, experiencing tool inconsistencies, or want to confirm best practices, having a knowledgeable partner helps. That’s where a technical supplier like Chemical Concepts fits in—keeping your process tight and your installations on track.
Ready to eliminate sink anchoring problems in your fabrication operation? Contact the Chemical Concepts team for product recommendations and technical support tailored to your specific materials and installation requirements.